Style 02 (Back)
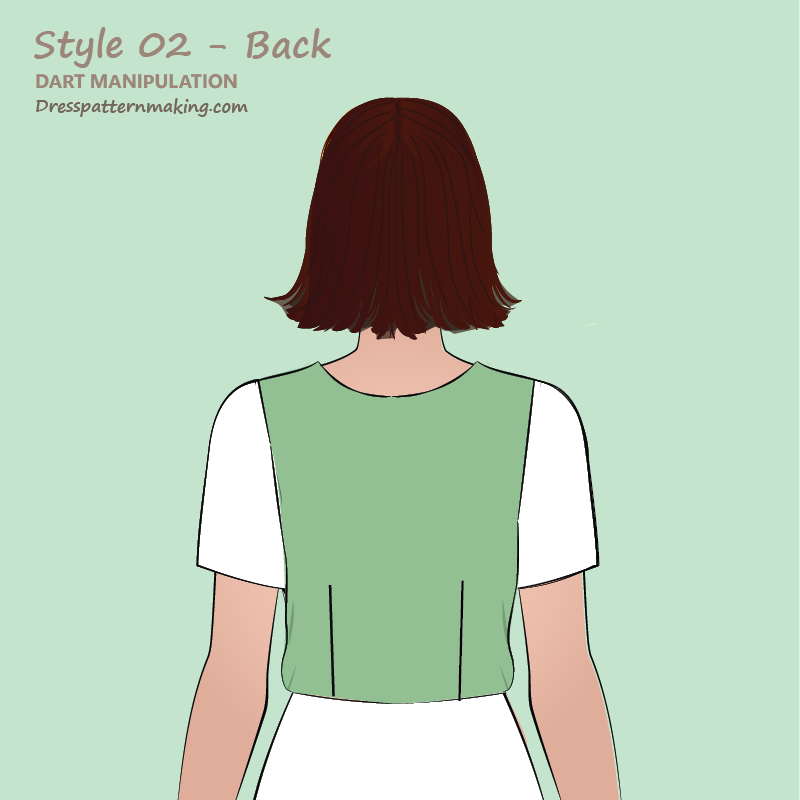
The bodice back of this garment has one dart in the waist. The shoulder dart in the Bodice Block Back is moved into the armhole, making the armhole bigger.
Example: Outcome
Figure 1 shows the block being used on the left, and the pattern that will be created (Back Style 02) on the right.
Note: The actual pattern would need seam allowance or cutting instructions added; this has not been done here we are just covering the theory of manipulating darts.
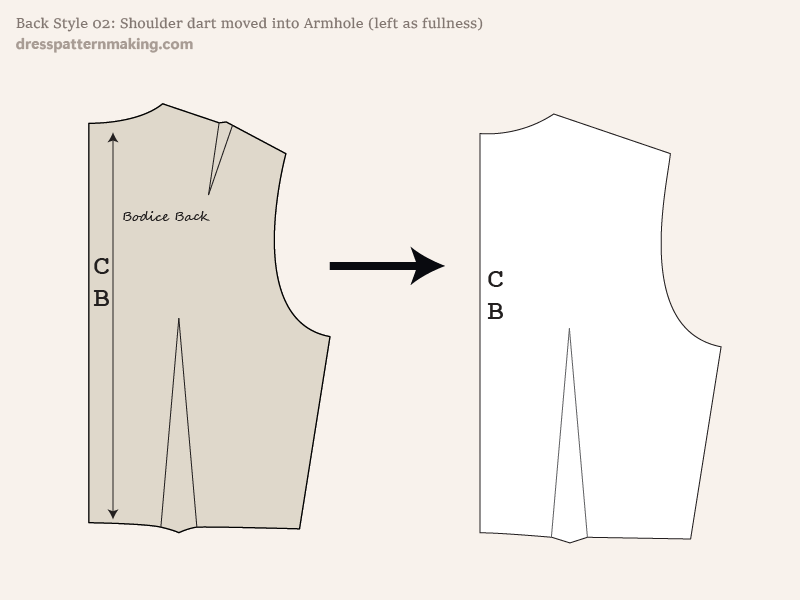
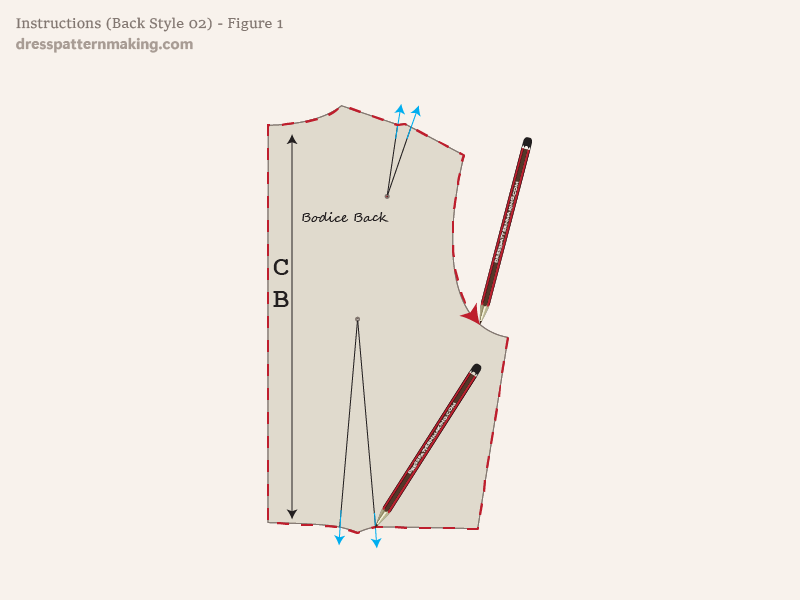
Instuctions (Back Style-02) - Figure 1
In the instructions, color is used for emphasis, so you can see more easily what I am referring to. You will be using a hard (4H-6H) pencil. Holding the block firmly in place so it doesn't move:
- trace the outline of the block onto paper
- mark the dart legs
- mark the dart points
You can lift your block up and put it aside.
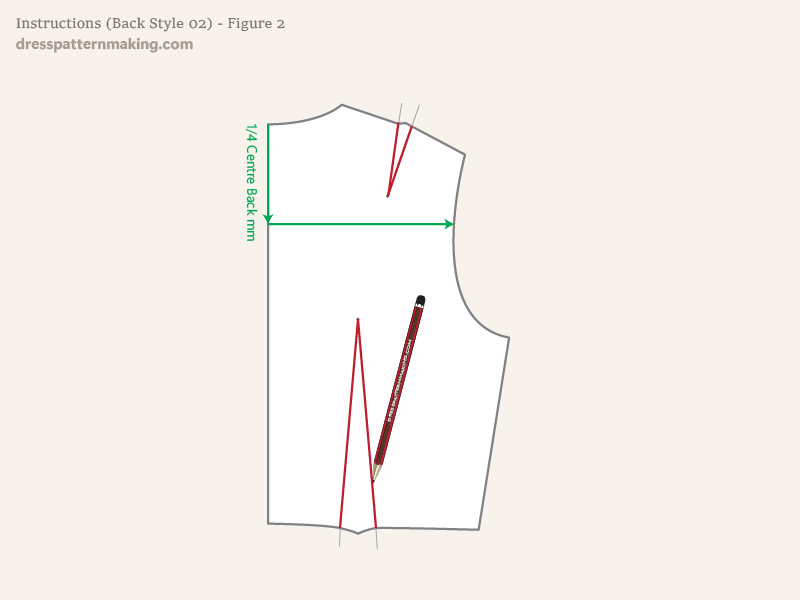
Instructions (Back Style-02) - Figure 2
- draw your dart legs (shown in red)
- measure down from the CB neck point for a quarter of the CB measurement, then draw a line at right angles across the block. This is the shoulder blade level.
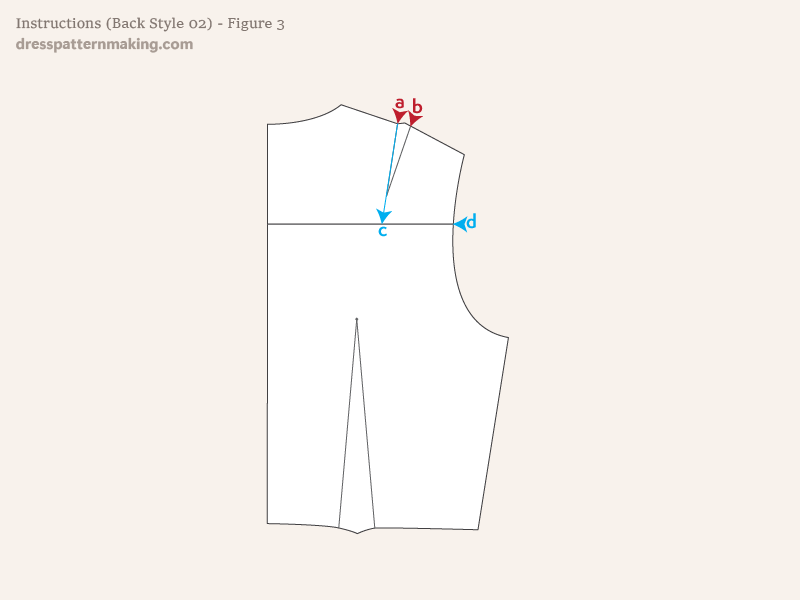
Instructions (Back Style-02) - Figure 3
- Cut the block shape out from the paper.
- Draw a line from dart leg A to meet the shoulder blade line; I have marked the point C.
- Cut from A to C, and from C to D. You will have two pieces.
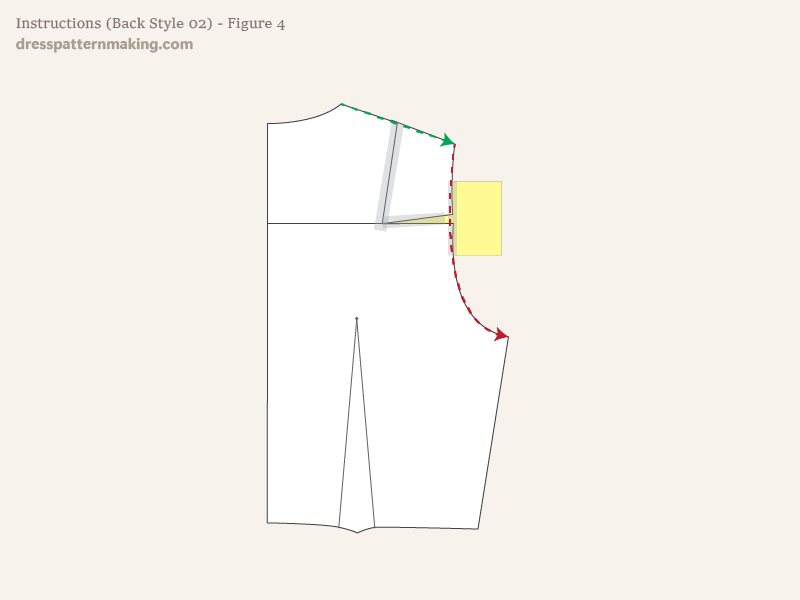
Instructions (Style-02) - Figure 4
- Pivot the cut piece so that the shoulder dart is closed.
- Tape the pieces together.
- Put a piece of paper underneath and finish securing the cut piece.
- Redraw the armhole so it is a smooth curve.
- Make sure the shoulder line is straight.
Note: This has increased the size of the armhole, so note that this will affect the sleeve. This is used more for sleeveless garments.
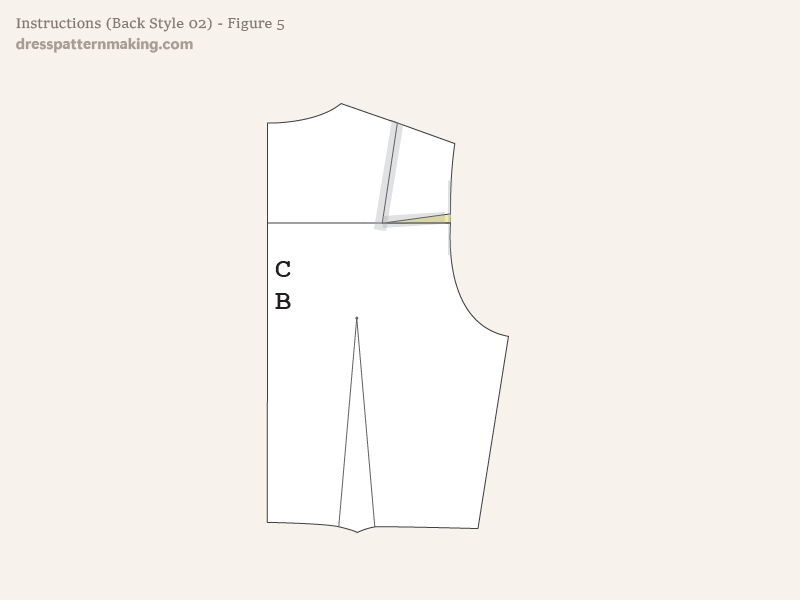
Instructions (Style-02) - Figure 5
- Cut out again.
If this was a pattern, you would also need to add seam allowance, label, mark the grainline, etc.
